The Right Way to Prepare Your Home for Interior Painting (And Why It Matters)
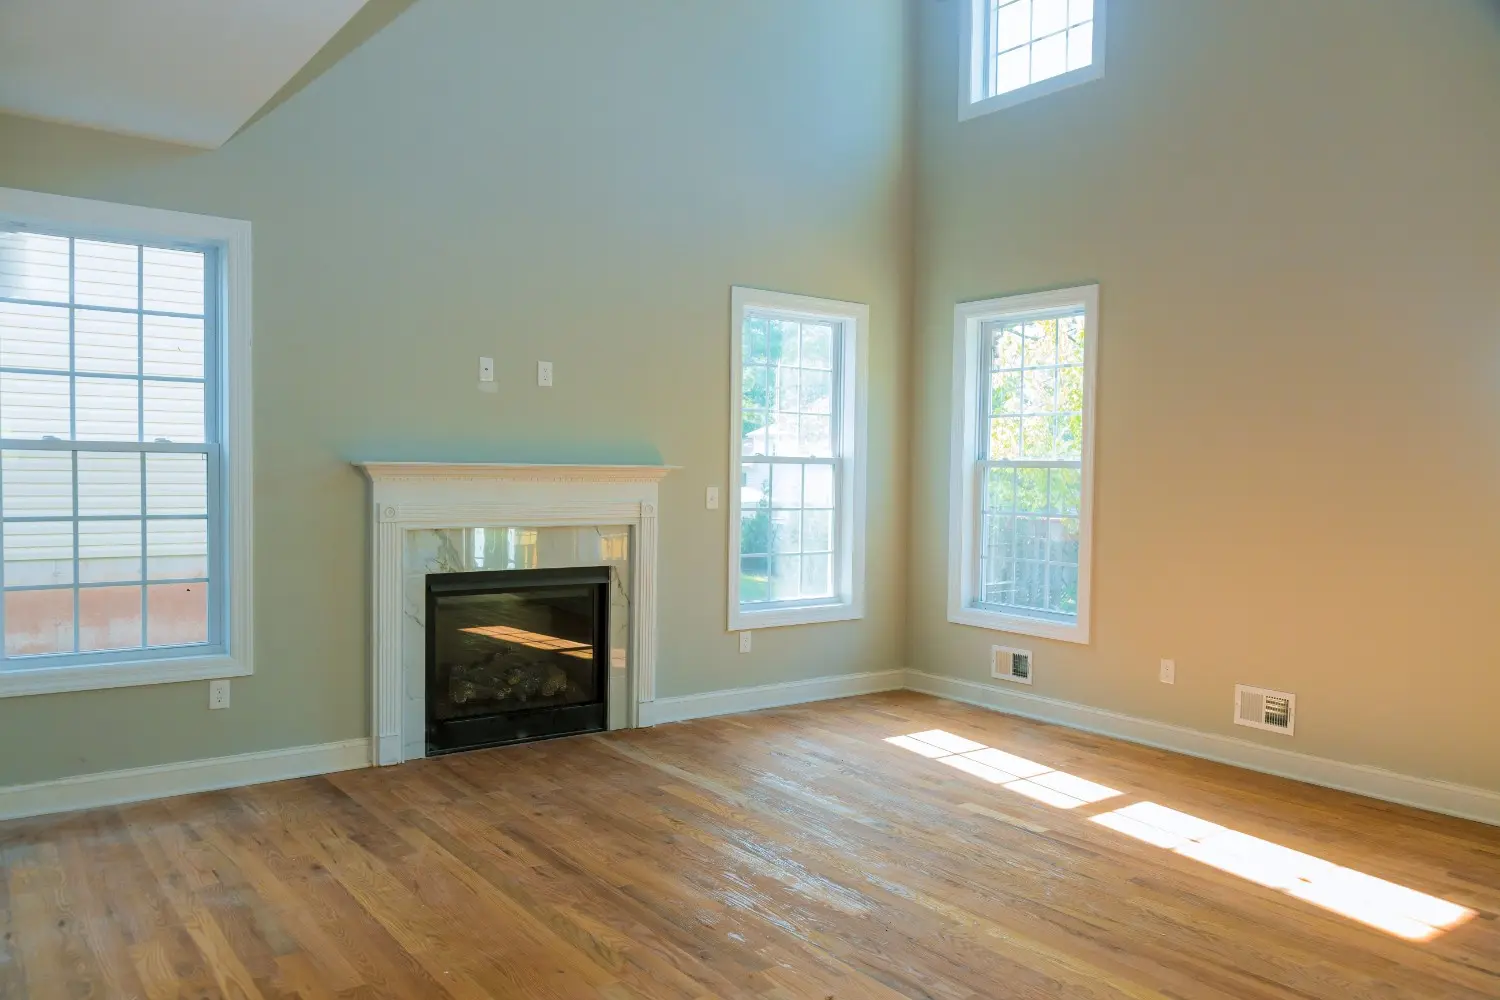
Walk into any freshly painted room and you’ll likely notice the transformed color, the clean walls, and that satisfying “new” feeling. What you won’t see—but what makes the biggest difference in how long those beautiful results last—is everything that happened before the first drop of paint touched the wall.
Here’s a truth most homeowners discover the hard way: the actual painting represents maybe 30% of a quality interior paint job. The other 70%? That’s preparation. It’s the unglamorous, time-consuming work that happens before any color goes up. It’s also the difference between paint that looks great for a decade and paint that’s peeling, cracking, or showing every imperfection within two years.
If you’ve ever wondered why some rooms seem to need repainting constantly while others look fresh for years, or why your DIY paint job didn’t turn out like you’d hoped, the answer almost always comes down to preparation. Understanding what proper prep involves helps you evaluate contractors, set realistic expectations, and make informed decisions about your investment.
Why Surface Preparation Determines Everything
Paint doesn’t magically stick to walls and stay there forever. It needs a properly prepared surface to bond with—one that’s clean, smooth, and structurally sound. Think of it like building a house: you can’t construct a solid structure on a weak foundation, and you can’t achieve lasting paint results on poorly prepared surfaces.
When walls aren’t prepared correctly, several problems develop quickly. Paint adheres poorly and begins peeling within months, especially in high-humidity areas like bathrooms and kitchens. Every surface imperfection—nail holes, cracks, texture variations—shows through the finish coat, creating an amateurish appearance no amount of quality paint can hide. Stains bleed through from previous wall damage, smoke residue, or water marks, ruining your fresh color. Uneven surfaces create inconsistent sheen, making walls look blotchy even when the paint color itself is uniform.
Professional painters understand that time invested in preparation directly translates to durability, appearance quality, and customer satisfaction. That’s why reputable contractors spend more time prepping than painting—because they know it’s the only way to deliver results that justify their warranty and build their reputation.
What Actually Happens During Professional Interior Prep
Quality preparation follows a systematic process that addresses every surface issue before paint application begins. Here’s what should happen in your home when professionals handle the work.
Complete Room Protection and Furniture Management
Before any prep work starts, everything in the room gets protected or relocated. Furniture moves to room center and gets covered with protective sheeting—not just old bedsheets that paint can soak through, but proper plastic or canvas drop cloths. Floors receive multiple protection layers: rosin paper or ram board for hard surfaces, heavy canvas for carpets. Light fixtures, outlets, and switches get covered or removed. Window and door hardware either gets masked carefully or removed entirely to avoid paint splatter and ensure clean lines.
This protection matters because thorough prep work creates dust, debris, and potential splatter. Without proper coverage, you’re vacuuming drywall dust out of carpets for weeks or discovering paint specks on hardwood floors months later.
Surface Cleaning and Contaminant Removal
Walls accumulate more dirt than most people realize—cooking grease in kitchens, soap residue in bathrooms, general dust and grime everywhere, plus fingerprints around light switches and door frames. Paint won’t adhere properly to dirty surfaces, so professional cleaning comes first.
This means washing walls with appropriate cleaning solutions, paying special attention to kitchens and bathrooms where grease and moisture accumulate, removing cobwebs from corners and ceiling edges, and cleaning trim, baseboards, and door frames thoroughly. Once cleaned, surfaces must dry completely before any repair work or painting begins—rushing this step traps moisture under new paint, causing adhesion problems and potential mold growth.
Comprehensive Repair Work
This is where significant time gets invested, and it’s also where corner-cutting becomes most obvious in inferior paint jobs. Every imperfection needs addressing because paint amplifies flaws rather than hiding them.
Nail holes and small dents get filled with appropriate spackling compound, applied slightly overfilled, then sanded perfectly smooth once dry. Larger holes or damaged drywall sections require more extensive repair—sometimes involving drywall patches, mesh tape, and multiple layers of joint compound feathered out to blend seamlessly with surrounding wall. Cracks get evaluated to determine whether they’re superficial or indicate structural movement, then repaired appropriately with flexible caulk or joint compound depending on location and cause.
Damaged trim or baseboards sometimes need replacement rather than just filling and painting. Water-damaged areas must be addressed at the source—fixing the leak or moisture problem—before cosmetic repairs begin, otherwise damage returns quickly. Textured walls or ceilings requiring repair need texture matching, which demands specific skills and materials to achieve invisible repairs.
Extensive Sanding for Smooth Surfaces
After repairs dry completely, comprehensive sanding ensures every surface feels uniformly smooth. This means sanding all patched areas perfectly flush with surrounding wall surface, smoothing any rough spots or texture inconsistencies, creating proper adhesion by lightly scuffing previously painted surfaces, and removing dust thoroughly after sanding—because even fine dust prevents proper paint adhesion.
Quality painters use progressive sanding grits, starting coarser to level repairs quickly, then finishing with finer grits that create glass-smooth surfaces. They also use proper dust extraction or containment to keep your home clean throughout the process.
Strategic Caulking for Professional Finish
Caulking separates amateur from professional results. Properly applied caulk creates seamless transitions and prevents future cracking in stress points. This includes filling gaps between trim and walls, sealing joints where baseboards meet flooring, addressing ceiling-to-wall transitions, and filling any other gaps where different materials meet and movement occurs.
The caulk type matters too—latex caulk for interior trim joints, specialized kitchen and bath caulk for moisture-prone areas, and flexible caulk for areas experiencing movement or temperature changes. Smooth, properly tooled caulk lines look intentional and clean; poor caulking looks messy and draws attention to imperfections.
Proper Priming Based on Surface Conditions
Primer isn’t optional—it’s essential for specific situations that occur in most interior painting projects. New drywall or plaster absolutely requires priming because bare drywall paper absorbs paint unevenly, creating blotchy appearance and wasting expensive topcoat. Repaired areas need spot-priming to seal spackling compound and ensure uniform topcoat absorption. Dark colors being covered with lighter shades require tinted primer to achieve true color in fewer coats.
Stain-blocking primer becomes necessary over water stains, smoke damage, or any discoloration that might bleed through topcoat. Glossy surfaces being repainted need bonding primer to ensure new paint adheres to slick existing finish. Different surfaces—wood trim, metal radiators, previously painted walls—often need different primer types for optimal results.
Experienced painters know which primer suits each situation and don’t use one-size-fits-all approaches that compromise results.
Final Inspection Before Paint Application
Before any finish paint goes up, quality contractors conduct thorough inspection under proper lighting. They look for missed repairs, rough spots needing additional sanding, areas requiring more caulk, and any imperfections that will show through paint. This final check catches problems when they’re still easy to fix—not after paint application when corrections become complicated and time-consuming.
What Happens When Preparation Gets Skipped
Understanding proper prep highlights why cutting corners creates problems. Every skipped step has consequences that appear weeks or months later.
Inadequate surface cleaning means paint adheres poorly from day one, leading to early peeling especially in bathrooms and kitchens where moisture and temperature changes stress the paint film. Unfilled holes and cracks remain visible through paint—sometimes more visible than before because fresh paint draws attention to surface irregularities. Insufficient sanding leaves rough texture, visible repair edges, and uneven surfaces that catch light differently, creating distracting appearance variations.
Missing or inadequate primer causes multiple problems: poor paint adhesion, uneven color absorption requiring extra coats, stains bleeding through finish paint, and dramatically shortened paint life overall. These aren’t minor aesthetic issues—they represent genuine paint system failure requiring complete repainting much sooner than should be necessary.
How Pro Paint Plus Approaches Interior Preparation
Our preparation process reflects our commitment to results that last. We don’t skip steps to finish faster or bid lower—we invest the time required to do the job properly the first time.
Every interior project begins with comprehensive assessment where we examine wall and ceiling conditions, identify all repairs needed, discuss any special requirements like moisture issues or previous damage, and explain exactly what preparation work your specific project requires. We provide transparent estimates that detail preparation work separately so you understand where time and cost go—no vague “prep and paint” line items that hide what’s actually happening.
Our experienced crews follow systematic preparation protocols that address every surface properly. We protect your home and belongings thoroughly, complete all necessary repairs to professional standards, sand meticulously for smooth results, apply appropriate primers for your specific conditions, and conduct quality checks before paint application begins.
This thorough approach means projects sometimes take longer than you might expect—but it also means results that look exceptional immediately and continue performing beautifully for years. We back this confidence with our three-year workmanship warranty, which we can only offer because proper preparation eliminates the common causes of premature paint failure.
Questions to Ask Any Interior Painting Contractor
When evaluating painters, asking specific preparation questions reveals who understands quality work versus who’s cutting corners to offer lower prices.
Ask contractors: “Walk me through your preparation process step by step.” Quality painters will explain enthusiastically and in detail because they’re proud of their thorough approach. Vague answers or dismissive responses suggest preparation isn’t their priority.
“What specific repairs are included in your estimate?” This question reveals whether the contractor actually assessed your walls carefully or just provided a generic quote. Detailed answers naming specific repairs demonstrate proper evaluation.
“How do you protect floors, furniture, and fixtures?” Professional answers involve multiple protection layers and specific materials, not just “we’ll cover things with tarps.”
“What type of primer do you use and why?” This tests whether the contractor understands that different situations require different primers or whether they use whatever’s cheapest regardless of conditions.
“Can I see examples of your preparation work in progress?” Quality contractors welcome this question because their prep work looks as professional as their finished results. Reluctance suggests their prep work doesn’t impress.
When DIY Preparation Makes Sense (And When It Doesn’t)
Some homeowners consider handling prep work themselves to reduce project costs. This sometimes works for simple situations but often creates problems that cost more to fix than hiring professionals initially would have cost.
DIY prep might work for small, simple projects in good condition: single rooms with minimal damage, walls previously in good condition needing only cleaning and light sanding, situations where you have adequate time, proper tools, and genuine skills. However, professional preparation becomes essential for extensive damage requiring multiple repairs, older homes with plaster walls, previous water damage or staining issues, entire-home projects where consistency matters, and situations where you lack experience with drywall repair, proper sanding techniques, or appropriate product selection.
The challenge with DIY prep is that inexperienced work often looks acceptable to untrained eyes but causes problems professionals immediately recognize. Improperly feathered repairs, insufficient sanding, wrong primer choices, or missed problems create paint failures that waste the money you spent on quality paint and professional application.
Making the Right Choice for Your Investment
Interior painting represents significant investment in your home’s appearance, comfort, and value. That investment deserves protection through proper preparation that ensures long-lasting, beautiful results.
When you choose Pro Paint Plus for your interior painting project, you’re choosing a team that understands preparation isn’t optional or negotiable—it’s the foundation of every successful project. Our commitment to thorough prep work, combined with quality materials and skilled application, delivers the lasting results Montreal homeowners deserve.
Ready to transform your interior spaces with painting that lasts? Contact Pro Paint Plus today for a complimentary consultation. We’ll assess your rooms thoroughly, explain exactly what preparation work is needed, and provide a detailed estimate that shows the value proper preparation delivers.